Adding more RAM should improve the performance of Revit and your computer; however, even a computer with a fast CPU can run slowly without the proper amount of RAM.
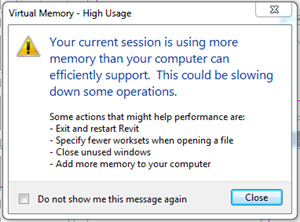
If you have been working away and have received the following message below stating that your system is running low on virtual memory, then you are not alone, and there are several different solutions you can use to resolve this issue. Of course, upgrading your current RAM would be the obvious solution, but there is another temporary measure you can take that can prevent this message from appearing and even enhance the performance of your system.
This is a great procedure to follow when attempting to temporarily boost the performance of systems where Autodesk applications such as Revit is having difficulty importing or exporting geometry or handling larger assemblies. What this means is that it gives the operating system the extra room it needs to manoeuvre should it run out of physical memory. The Virtual Memory is not used until the Physical RAM in the system has been exhausted and the system requires somewhere to hold additional information. The following trick is carried out on Windows 7. This process can also be replicated for those using Windows 8/8.1 and Windows 10.
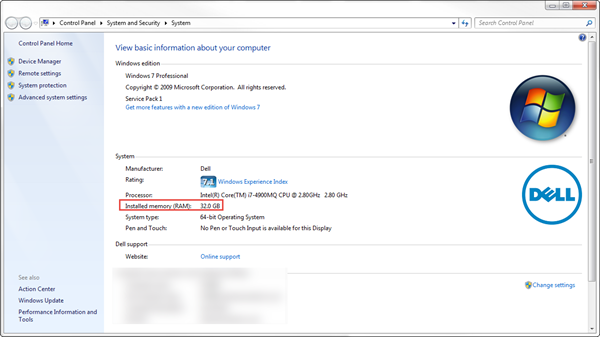
First, determine how much memory (RAM) you have installed on your system. To find this out, right-click Computer, then click Properties. The amount of RAM installed and available is displayed in red as highlighted below:
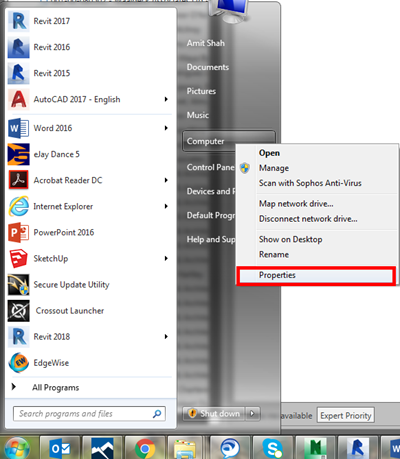
Click the Start button, right-click Computer, and then click Properties.
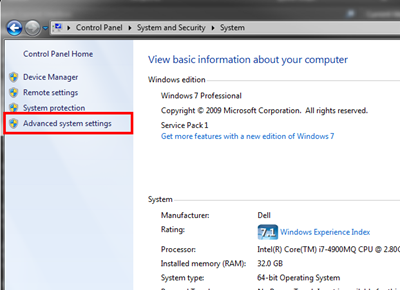
In the left pane, click Advanced system settings.
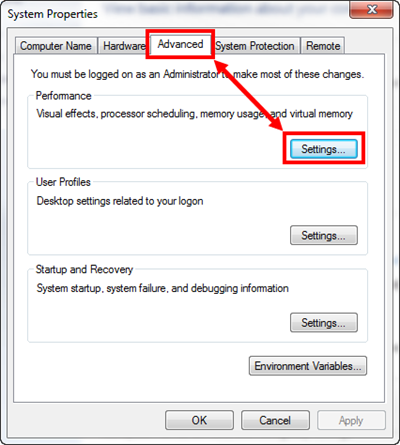
On the Advanced tab, under Performance, click Settings…
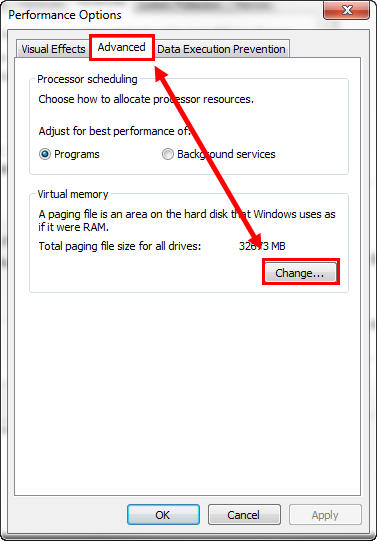
Click the Advanced tab, and then, under Virtual memory, click Change…
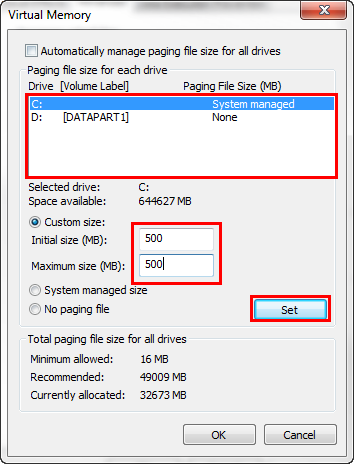
Finally, ensure that you clear the Automatically manage paging file size for all drives check box. Then under Drive [Volume Label], click the drive that contains the paging file you want to change and select Custom size, type a new size in megabytes in the Initial size (MB) or Maximum size (MB) box, and select Set, and then click OK. As shown below:
IMPORTANT NOTE:
As a final note, just increasing the virtual memory does have some drawbacks. The disk has less space for other uses, since a larger portion of it is reserved for this swapping size, hence using so much memory means it will run much slower than only using the amount of physical RAM, but if you needed to increase (e.g. was crashing with out-of-memory warning message) then it may not crash anymore. The power consumption is another factor that may increase as a lot more disk access is happening, which tends to be less efficient than simply accessing the physical RAM, hence this may cause the disk to fail sooner due to more usage. In the long run, however it is important that you install the maximum allowed RAM by your computer’s motherboard, as a permanent fix to the underlining issue.
We hope you found this tip useful. Check back on our blog for more tips & tricks to keep you productive.


